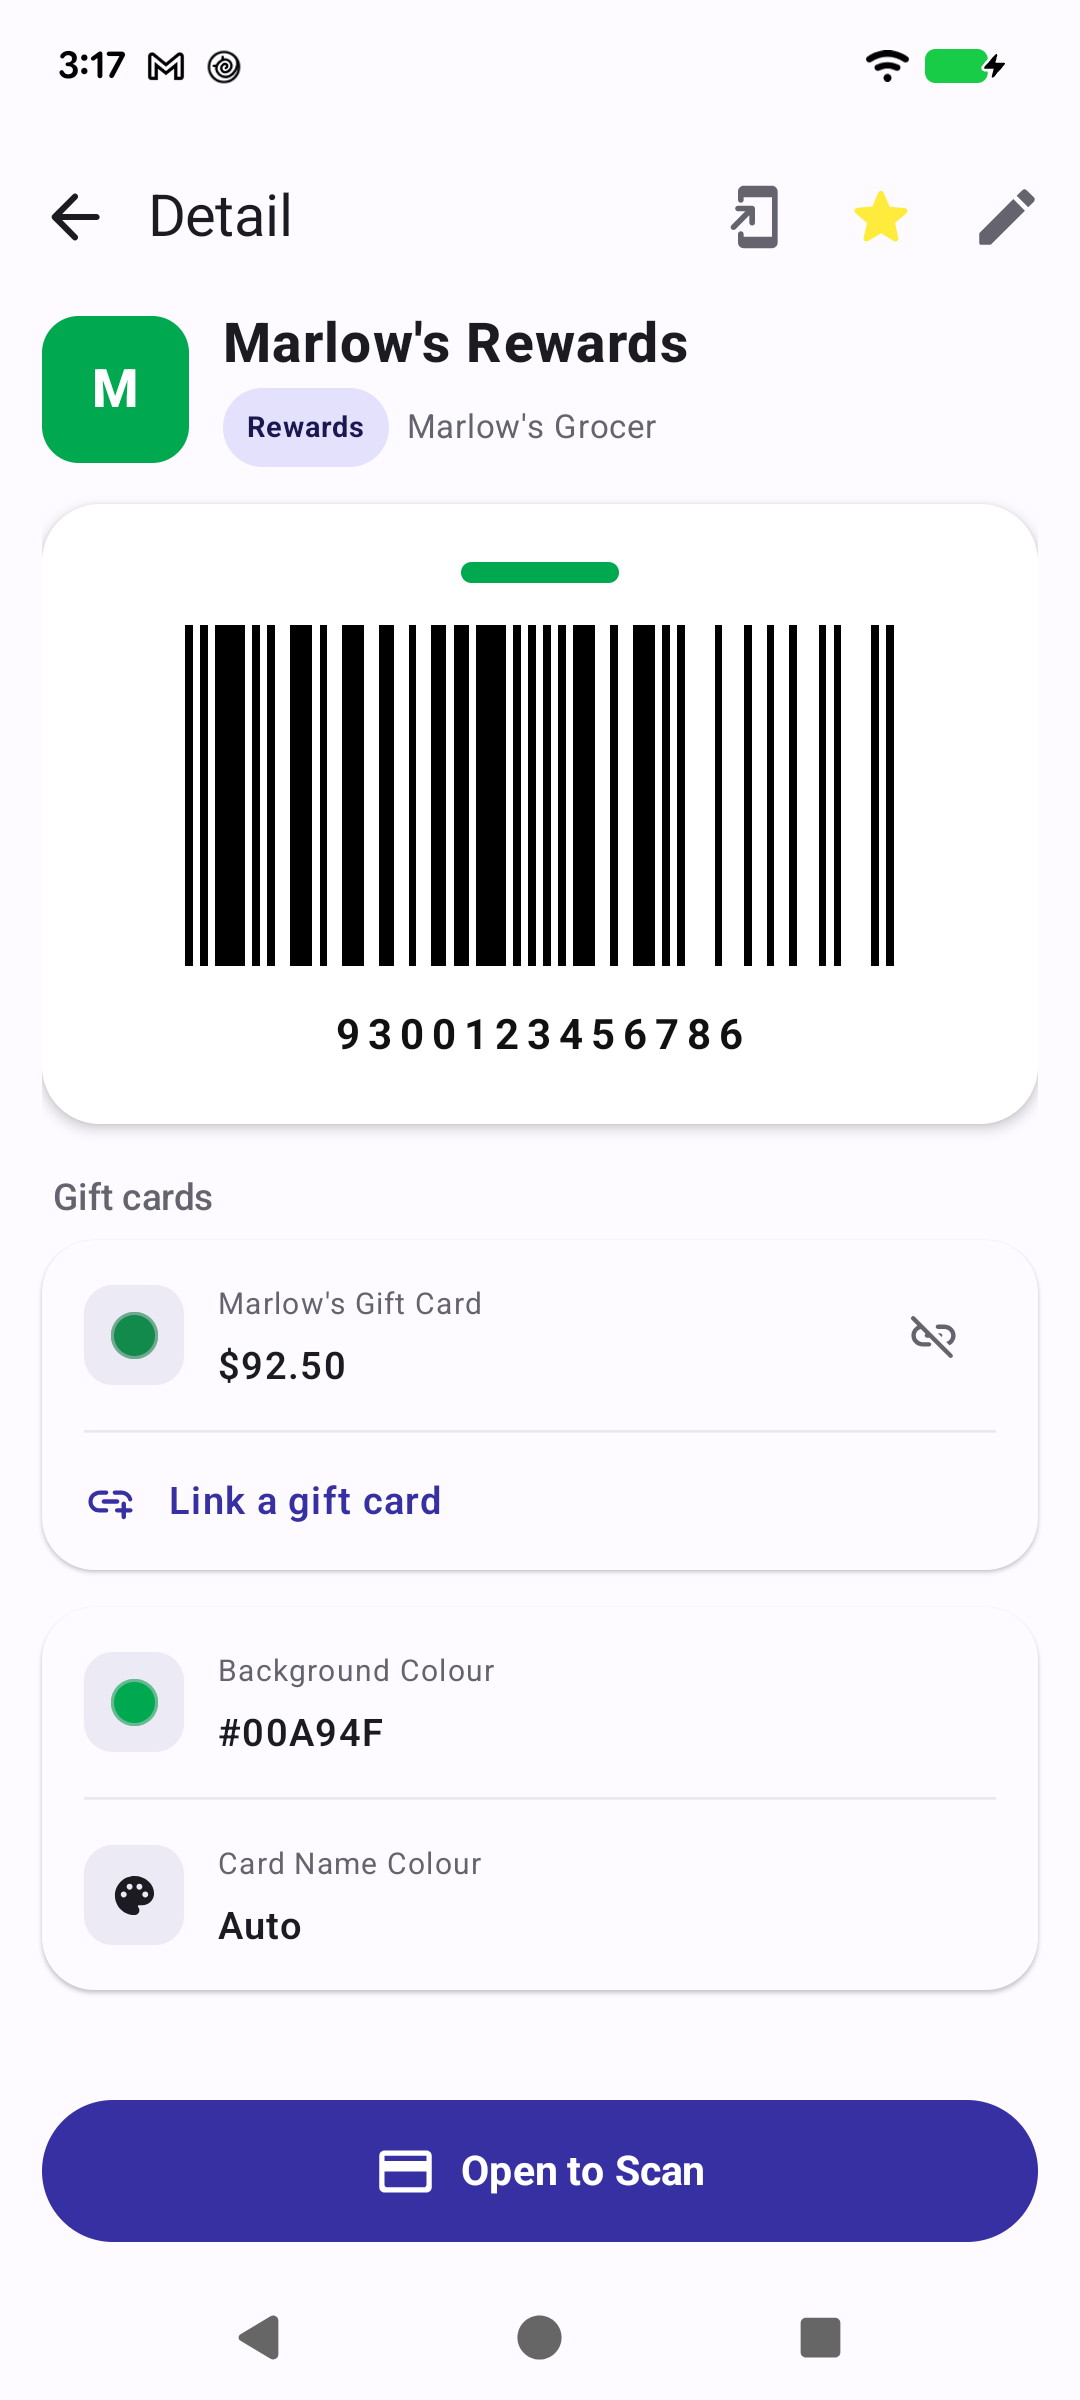
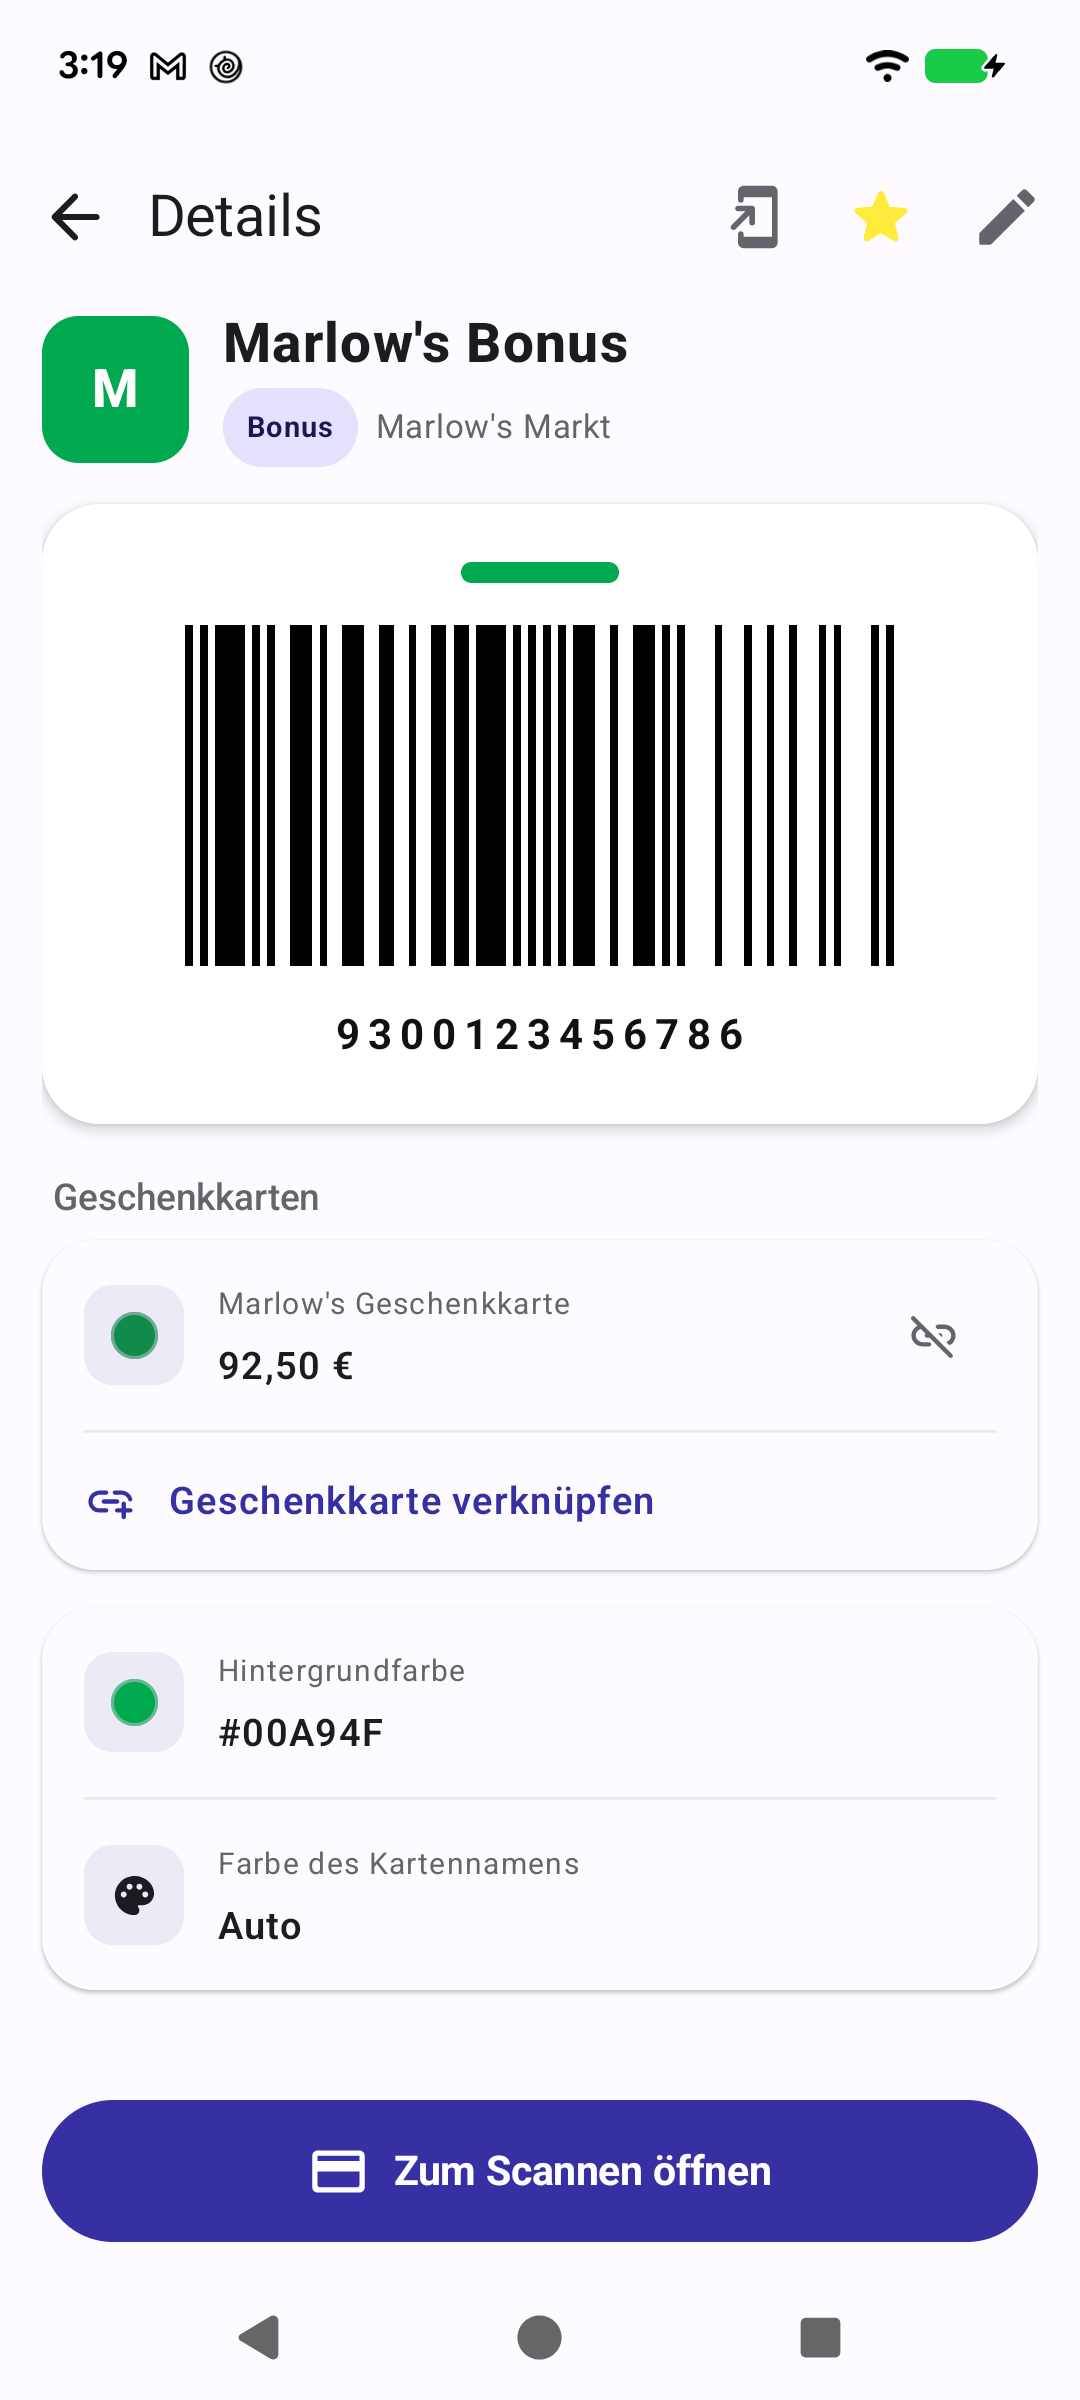
Everything about one card in one place — barcode, shop, favourite star, edit, and a button straight to Scan Mode.Alles zu einer Karte auf einen Blick — Barcode, Geschäft, Favoritenstern, Bearbeiten und direkt zum Scan-Modus.
Quick start
The card screen shows one card in full: its colour and initial, its name, its type, and the shop it belongs to, with the barcode below. Open to Scan at the bottom takes you straight to the full-screen barcode.
Name, type chip and shop at the top; barcode below; Open to Scan at the foot.
Below: the three icons in the top corner, and how to get here when tapping jumps you to Scan Mode.
Going deeper
Linked gift cards
Below the barcode is a Gift cards panel. This is where linking happens: Link a gift card attaches one of your gift cards to this shop, and once linked it is listed here with its remaining balance. The broken-link icon beside it unlinks the pair again.
Once two cards are linked, the Rewards / Gift chips appear in Scan Mode so you can flip between them at the till.
Colours
Background Colour is the tile colour, shown with its hex value. Card Name Colour is normally left on Auto, which picks black or white text depending on how dark the background is — override it only if you want a specific look.
The icons
Star — pins the card to Favourites at the top of your wallet. Yellow means it is on.
Pencil — edit the card: name, type, number, colour, shop, and for gift cards the PIN and balance.
Shortcut — adds an icon for this card to your phone’s home screen. Tap that icon and the card opens straight into Scan Mode, without going through the app first.
Getting here
By default, tapping a card in your wallet opens Scan Mode rather than this screen. Turn off Open Scan Mode on tap in Settings and a tap brings you here instead — useful while you are still setting your cards up.
Schnellstart
Der Kartenbildschirm zeigt eine Karte vollständig: Farbe und Anfangsbuchstabe, Name, Typ und zugehöriges Geschäft, darunter den Barcode. Zum Scannen öffnen am unteren Rand führt direkt zum bildschirmfüllenden Barcode.
Oben Name, Typ-Chip und Geschäft; darunter der Barcode; unten „Zum Scannen öffnen".
Weiter unten: die drei Symbole oben in der Ecke und wie Sie hierher gelangen, wenn ein Tippen direkt in den Scan-Modus springt.
Tiefer eintauchen
Verknüpfte Geschenkkarten
Unter dem Barcode liegt der Bereich Geschenkkarten. Hier wird verknüpft: Geschenkkarte verknüpfen ordnet diesem Geschäft eine Ihrer Geschenkkarten zu, und einmal verknüpft erscheint sie hier mit ihrem Restguthaben. Das Symbol der zerbrochenen Kette daneben hebt die Verknüpfung wieder auf.
Sobald zwei Karten verknüpft sind, erscheinen im Scan-Modus die Chips Rewards / Gift, sodass Sie an der Kasse zwischen ihnen wechseln können.
Farben
Hintergrundfarbe ist die Kachelfarbe, angezeigt mit ihrem Hex-Wert. Kartennamen-Farbe steht normalerweise auf Auto und wählt je nach Helligkeit des Hintergrunds schwarze oder weiße Schrift — ändern Sie das nur, wenn Sie einen bestimmten Look möchten.
Die Symbole
Stern — heftet die Karte oben in Ihrer Brieftasche an die Favoriten. Gelb bedeutet aktiv.
Stift — Karte bearbeiten: Name, Typ, Nummer, Farbe, Geschäft und bei Geschenkkarten PIN und Guthaben.
Verknüpfung — legt ein Symbol für diese Karte auf dem Startbildschirm an. Ein Tippen darauf öffnet die Karte direkt im Scan-Modus, ohne Umweg über die App.
Hierher gelangen
Standardmäßig öffnet ein Tippen auf eine Karte den Scan-Modus statt dieses Bildschirms. Deaktivieren Sie Scan-Modus beim Tippen öffnen in den Einstellungen, dann landen Sie mit einem Tippen hier — praktisch, solange Sie Ihre Karten noch einrichten.